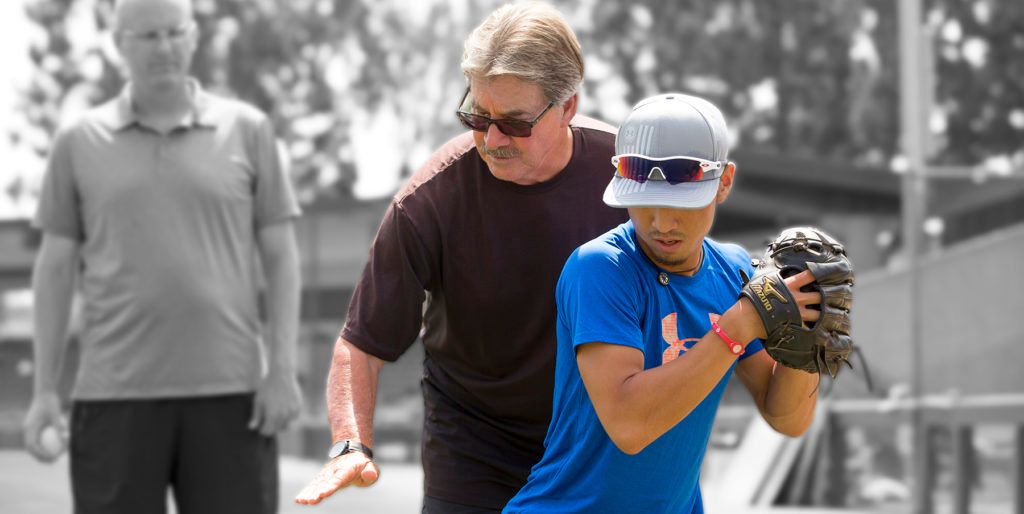
By Tom House, PhD, with Lindsay Berra
During the pitching delivery, a pitcher’s total body needs to get to the right place at the right time with the right sequence of movements. The Mustard app looks at all the mechanical variables of the pitching delivery in the same way I would look at your pitching mechanics on the field, only in a way that is much more accurate than my eyes could ever be. It allows you to clearly see how the laws of physics apply to the human body and how working with them, rather than against them, allows you to throw harder, more efficiently and more safely. Of the 11 variables that make up your pitching mechanics, nine are independent and two – timing and sequencing – are dependent. That is, if you become efficient in the nine independent variables, timing and sequencing will take care of themselves. Here are the variables in order of importance to the delivery. Keep in mind that variables at the end of the chain are often fixed by improving variables at the beginning of the chain.
Timing
Timing is measured from your first forward movement into footstrike. It is how quickly the front foot gets down and when the ball comes out of the hand. We know from our research on pitching mechanics that the best throwers in the world typically get from first movement into footstrike in less than 1.05 seconds, with the ball coming out of the hand .15 to .25 seconds later. However, most throwers can go faster, so our rule is to get into footstrike in one second or less. The key is to think “GFF.” That’s “Go Forward Fast.” The key to throwing hard easily is to use your legs to go as fast and as far as possible into footstrike.
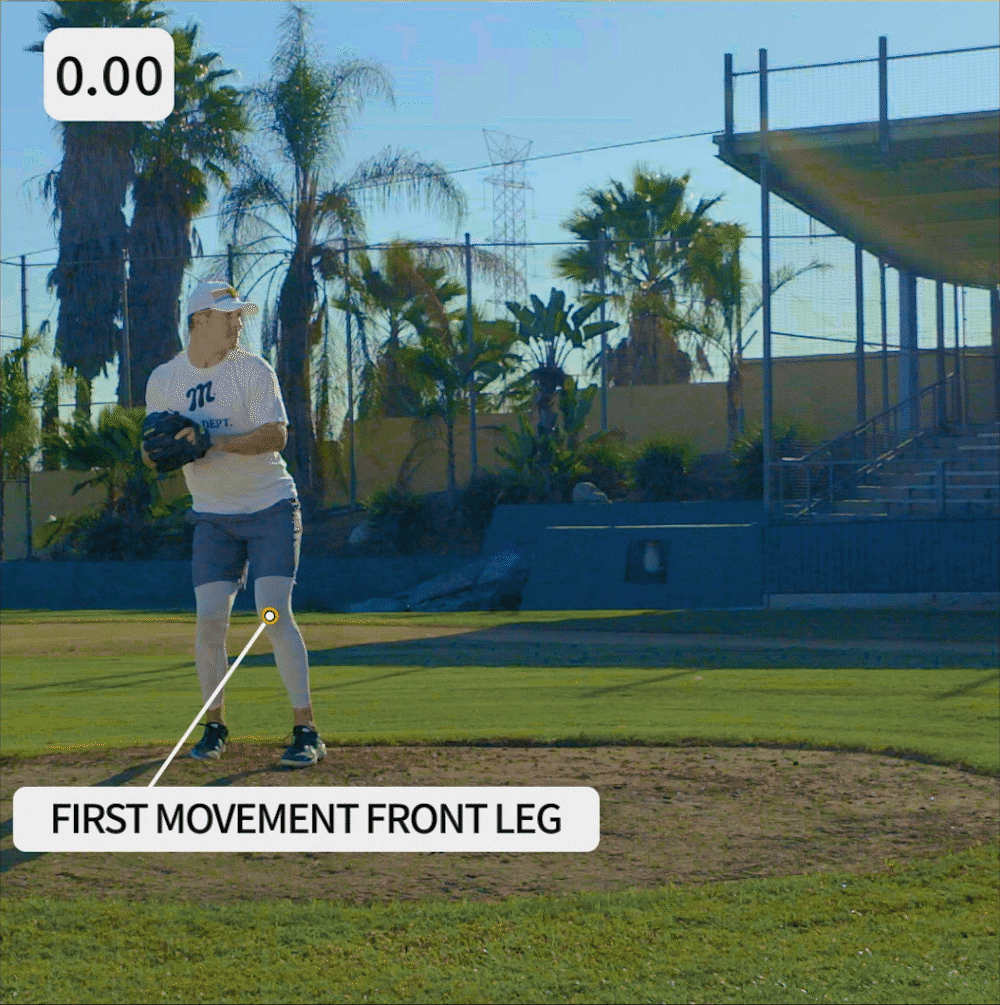
For a more in-depth look at Timing, check out our blog.
Sequencing
To throw a baseball efficiently, a pitcher must get into the right position at the right time with the right succession of movements, like dominoes falling. If a domino falls too early or too late, it disrupts all of the other dominoes. This is the kinematic sequence. Energy is transferred from the ground up, through a pitcher’s legs, into the hips, shoulders and arms, and finally into the fingertips and then the baseball. But, there is a slight delay between each body segment, when it slows to a stop before energy is delivered to the next segment. Think of it as the cracking of a whip; each segment does the same start and stop until the end of the whip pops.
Balance & Posture
Balance is defined as having the head over the center of gravity – think belly button – between the balls of the feet, in an athletic position. Posture is a spine-to-hip angle that stabilizes the pitcher’s head through delivery; it should not deviate from the path to the target. Once you establish your posture, your head should stay where it is and only go forward. We like to see less than 15 degrees of head movement left or right at release point. More than that actually doubles the weight of your head, and having to overcome 16 pounds of dead weight pulling you in the wrong direction wreaks havoc on your biomechanical efficiency and command. Every inch of inappropriate head movement also costs two inches of distance at release point, which has a huge impact on both real and perceived velocity. Sideways head movement can be reduced by dragging your back foot on the ground. Your back foot drag line should be the length of two of your feet and should finish on the center line toward home plate. Up and down head movement can be fixed by bending the knees in the set position the same amount the head dropped during the delivery. On flat ground, the head should stay parallel throughout the delivery. On a mound, the head should travel parallel to the mound’s decline.
 BALANCE & POSTURE
For more on Balance & Posture, check out our blog.
Lift & Thrust
Lift and thrust is how we initiate momentum toward home plate. Basically, you want to get your rear end moving toward home plate the moment you lift your leg. This creates an energy angle, measured from the back ankle to the front hip at maximum leg lift, when the body can do nothing but go forward. Get that angle over 18 degrees and as close to 25 degrees as possible by bringing your front knee towards your back armpit as high as you can without losing posture while also moving the front hip fast toward the target. You don’t want to “find a balance point,” “stay over the rubber,” or “stop at the top.” The faster you get to your energy angle, the faster you get to the point where your whole body can only move down the center line from the middle of the rubber to the middle of home plate.
 LIFT & THRUST
For a more in-depth look at Lift & Thrust, check out our blog.
Stride Length
We want you to get down the mound and into foot strike as quickly as possible. And, the further you can stride in that same time frame, the more foot pounds of energy you will generate. This is what creates momentum towards the plate. Again, we know from our research into pitching mechanics that the stride distance of the best throwers of all time is at or beyond 100% of their own height, measured from their back ankle at setup to their front ankle at footstrike. Because force equals mass times acceleration, if you go farther faster, you get a higher chance of being able to throw hard, easy. So, GFF!
 STRIDE LENGTH
For a more in-depth look at Stride Length, check out our blog.
Opposite & Equal
Opposite and equal describes the relationship of the angles of the glove arm and the throwing arm at footstrike. The glove arm and throwing arm should be mirror images of each other after the hands break. When the arms are spread equally, the flex in the forearm and elbow should be exactly the same. Opposite and equal helps your arms contribute to the balance of your body during the total delivery, and all variations of it are OK. The arms don’t have to be straight angles, but if one elbow is bent, the other should be bent about the same amount. However, when squaring to throw, if you land with your arms in an upside down W and the glove is down, you will have to swivel it up, and if you land with your arms in goal post position and the glove is up, you’ll have to swivel it down.
Torque Retention/ Hip & Shoulder Separation
Whether you call it torque retention, delayed shoulder rotation or hip and shoulder separation or disassociation, the ability to store torque in the pitching delivery is responsible for up to 80% of velocity. Torque retention is defined as delaying rotation of your back shoulder towards the target for as long as possible; the back shoulder should not start rotating to the target until the front foot hits the ground and your center of gravity – think belly button – has moved forward, ideally to at least 80% of stride length. This helps you store the torque you have generated with your hips and shoulders instead of allowing that energy to leak out too early. Retaining torque allows you to “throw hard, easy,” because you throw with your whole body rather than just your arm.
 TORQUE RETENTION
For a more in-depth look at Torque Retention, check out our blog.
Stack & Track
Stack and track is the portion of the delivery where rotational energy is redirected to linear energy. It begins when a pitcher’s shoulders turn perpendicular to the target line, the arm lays back flat and the back goes into hyperextension. At this point, the hips should already be perpendicular to the target line. The back is arched, the butt is stuck out a bit and the pelvis is tilted anteriorly. The shoulders and chest should remain square to home plate for the rest of the distance traveled by the center of gravity (think: belly button), at which point, the lower back snaps forward from hyperextension into flexion. That linear torque delivers the arm, which will go from laid back in external rotation to internal rotation as the ball is released, and delivers whatever is left in foot pounds of energy – generated during your stride – toward the target and home plate, like the cracking of a whip. When done properly, this part of your pitching mechanics accounts for up to 20% of velocity. In the Mustard app, we look for whether or not the front shoulder has over-rotated at release point.
 STACK & TRACK
For a more in-depth look at Stack & Track, check out our blog.
Swivel & Stabilize
As a pitcher’s shoulders begin to square toward home plate, the glove needs to swivel so the palm is facing the chest and stabilize over the landing foot, inside the width of the torso, between the shoulders and the belly button. The torso should move toward the glove, not vice-versa, because if you pull the glove to the hip, the glove will be moving – relative to the lower body – during the part of the delivery when it should be stable. An unstable or soft glove causes inefficiencies in your pitching mechanics that interfere with energy translation and can cause pitchers to miss high and low with their pitches, while a stable glove adds distance to a pitcher’s release point and keeps energy moving in the proper direction, toward to home plate.
 SWIVEL & STABILIZE
For a more in-depth look at Swivel & Stabilize, check out our blog.
Angle of Wrist & Forearm and Pitch Grip
While there are so many theories as to the best way to hold a baseball, proper grip is very simple and the same for all pitches. Cut the ball in half with the thumb and middle finger, then arrange the wrist and forearm with a pre-set angle in the glove and deliver the pitch, without twisting, snapping or curving the wrist or fingers into release. Those actions only create stress on the elbow, not movement on the ball. It is the angle of the wrist and forearm that creates movement, and determines what pitch you throw. There are two exceptions: a split finger or a forkball, but even on those pitches, the thumb is equidistant between the “V” of the fork. Every 1/8 inch by which the thumb and middle finger miss cutting the baseball in half will cost you eight inches at home plate.
For more on Pitch Grips, check out our blog.
Release Point
If every variable in your pitching mechanics is done properly, a good release point is inevitable. You will release the ball eight to 12 inches in front of your landing foot. Your back foot will be on the ground, your dragline will be the length of at least two of your feet and will finish on the center line toward home plate. A good release point is dependent on your head staying toward the target. If you have trouble with release point, an issue with one of the other variables is likely the cause.
 RELEASE POINT
If you’d like more great content from Mustard, and you’d like to evaluate and improve your own pitching mechanics, download the Mustard pitching app today.